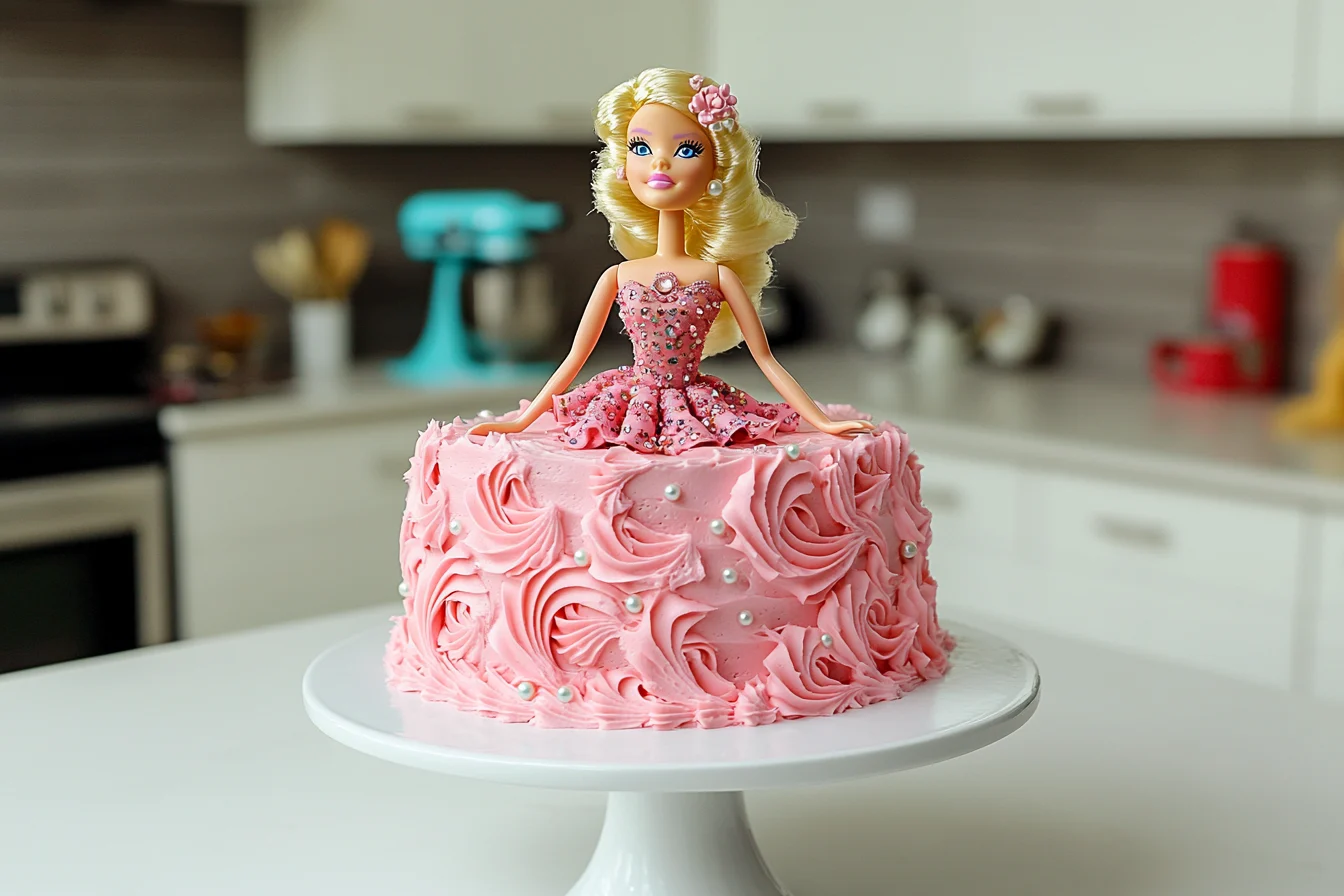
Creating a Barbie cake is an exciting way to add a touch of magic to any celebration, particularly birthdays and themed parties. Moreover, this delightful cake combines a doll with layers of deliciously baked perfection, sculpted into a ball-gown-like masterpiece. From selecting the right tools to mastering decorating techniques, this article guides you through every step. Thus, it ensures your creation becomes the centerpiece of the occasion.
Introduction to Barbie Cakes
History and Popularity of Barbie Cakes
The origin of Barbie cakes can be traced back to the late 20th century when creative bakers sought unique ways to make birthdays and celebrations truly unforgettable. Combining the universal charm of Barbie dolls with the decadence of cakes, these edible masterpieces quickly became a hit. Initially, the designs were simple—a doll inserted into a cake. However, as baking tools and techniques evolved, so did the artistry of Barbie cakes, with elaborate designs resembling ball gowns, princess themes, and even character-inspired costumes.
The popularity of Barbie cakes transcends generations. Today, they’re not only a favorite among children but also a nostalgic treat for adults who grew up with Barbie. The versatility of these cakes makes them a timeless choice for parties, blending childhood memories with a modern twist.
Occasions for Presenting Barbie Cakes
Although Barbie cakes are commonly associated with birthdays, they can be tailored to suit a variety of occasions. Imagine a whimsical Barbie cake for a baby shower, complete with pastel tones and floral accents. Alternatively, a bridal shower could feature an elegant Barbie cake adorned with lace-like fondant patterns and pearl details.
Theme parties also present a fantastic opportunity to showcase these cakes. Whether it’s a Frozen-inspired Winter Wonderland Barbie or a Tropical Barbie with a Hawaiian Skirt, these cakes are adaptable and perfect for stealing the spotlight. The combination of a personal touch and visual appeal makes a Barbie cake a centerpiece that’s as delightful to look at as it is to eat.
Essential Tools and Ingredients
Baking Equipment Needed
Creating the perfect Barbie cake doesn’t require professional equipment, but having the right tools on hand can make the process smoother and more enjoyable. Here’s a comprehensive list of essentials:
- Mixing Bowls and Whisk: Basic but crucial for combining ingredients effectively.
- Electric Mixer: Ensures a smoother batter, which is key to a moist and fluffy cake.
- Oven-Safe Bowl or Dome Mold: Shapes the rounded base of the Barbie gown.
- Round Cake Pans: For additional layers that add height to the gown.
- Serrated Knife: A handy tool for leveling and trimming the layers to create a seamless structure.
- Turntable: A lifesaver for decorating, as it allows you to rotate the cake smoothly while frosting.
- Piping Bags and Assorted Tips: These are essential for detailed decorations like rosettes, ruffles, and intricate patterns.
To make your Barbie cake more unique, consider investing in specialty tools like lace embossers for fondant or edible glitter sprays for an extra touch of glamour. For beginners, tutorials like this Barbie Doll Cake Recipe can help simplify the process and boost your confidence.
Key Ingredients for a Barbie Cake
A great cake starts with quality ingredients. Beyond the basics, your choice of flavors, colors, and decorations can turn a standard cake into a showstopper. Here’s what you’ll need:
- Dry Ingredients: All-purpose flour, baking powder, and a pinch of salt to give the cake structure.
- Wet Ingredients: Unsalted butter for richness, sugar for sweetness, eggs for texture, and milk for moisture.
- Flavor Enhancers: Vanilla extract is a classic, but you can also experiment with almond, lemon, or strawberry extracts for unique twists.
- Food Coloring: Gel food coloring is preferred for its vibrancy and ease of mixing. Choose colors that align with your theme—pastels for princess vibes or bold hues for a tropical Barbie.
- Buttercream Frosting: The foundation for most Barbie cakes, as it’s versatile and easy to work with.
- Fondant: Ideal for smooth finishes and intricate details like bows or lace.
- Edible Decorations: Sprinkles, pearls, glitter, or even custom-made fondant flowers add that extra wow factor.
Pro Tip: If you want to take the flavor up a notch, for instance, consider layering your cake with fruit preserves or chocolate ganache for a gourmet touch. In addition, these extra elements create a delightful surprise when the cake is sliced.
Step-by-Step Guide to Making a Barbie Cake
Preparing the Cake Batter
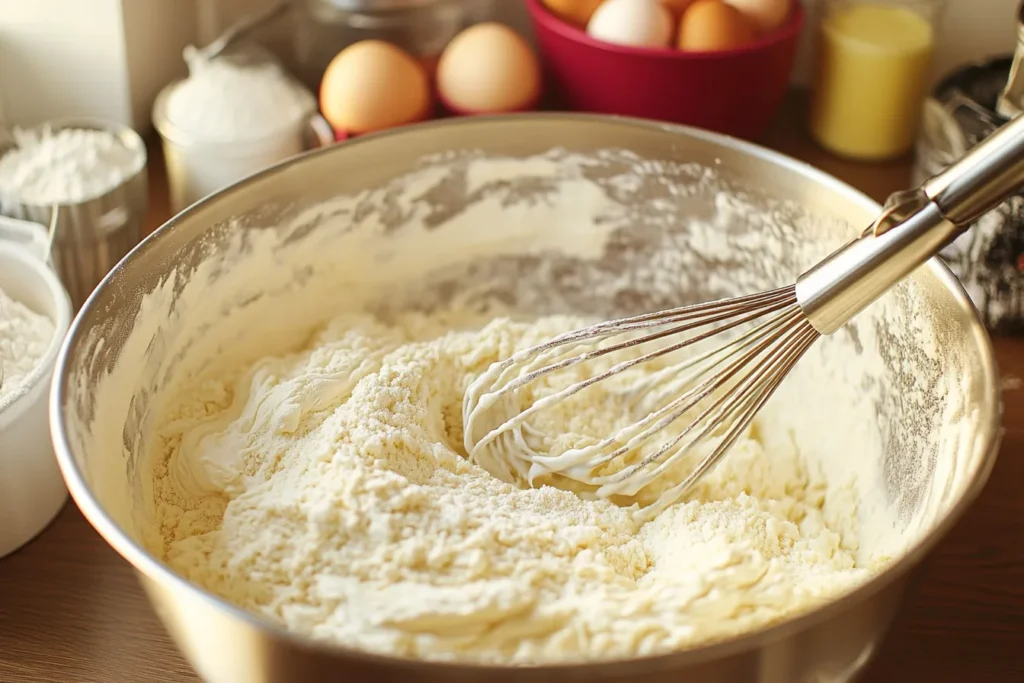
First things first, preheat your oven to 350°F (175°C). Next, begin by creaming butter and sugar until light and fluffy, then gradually add eggs one at a time. Meanwhile, combine the dry ingredients in a separate bowl and slowly incorporate them into the mixture, alternating with milk. Finally, add vanilla extract for that aromatic touch.

Baking the Cake Layers
Use an oven-safe dome mold or a heatproof bowl for the rounded base. Then, pour the batter evenly and bake for approximately 40-50 minutes. At the same time, bake two or three round layers in cake pans to build the height of the gown. Once everything is ready, let the layers cool completely before moving to the next step.
Assembling the Cake Structure
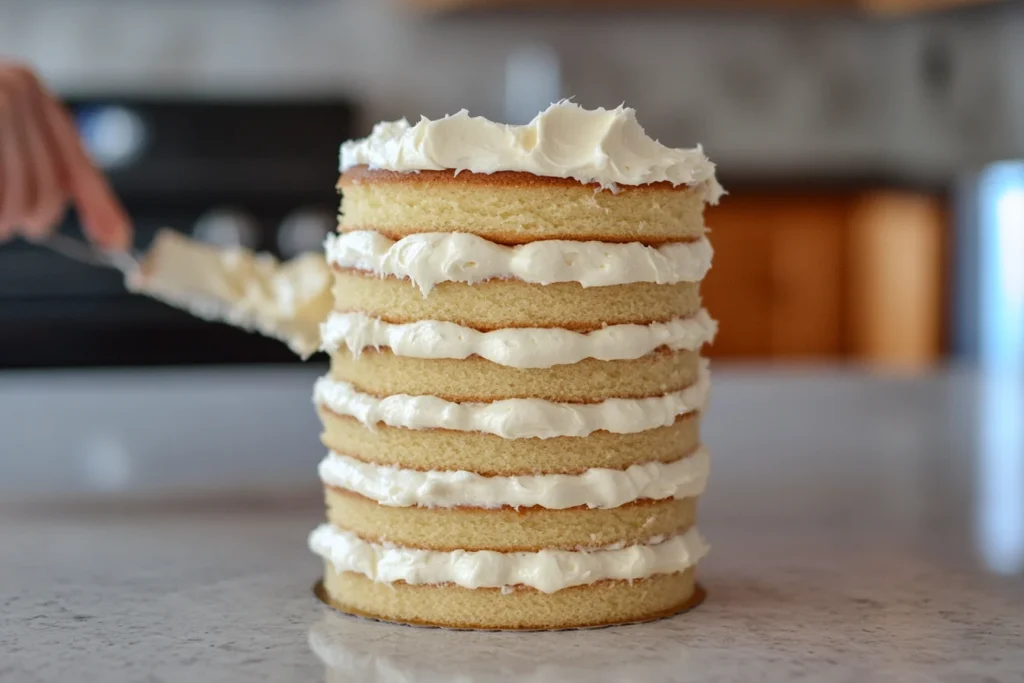
Stack the round layers using buttercream frosting to bind them. Next, place the dome-shaped cake on top to form the skirt. Then, gently insert a Barbie doll into the center, ensuring it is securely wrapped in plastic for hygiene.

Get inspiration from No-Bake Banana Split Cake Recipe! This way you can give your dessert unique variations.
Decorating Techniques for princess cake
Inserting the Doll
After carefully stacking and shaping the cake layers to resemble a flowing gown, next, it’s time to insert the Barbie doll. Additionally, ensure the doll’s lower half is securely wrapped in plastic wrap or cling film. This is important because this step prevents any contact between the doll and the edible cake, maintaining hygiene.
To avoid instability, you can use a skewer or cake dowels to reinforce the structure. Insert them vertically through the layers before placing the doll. Once the doll is positioned in the center, check that it stands upright and is symmetrically aligned—this is critical for achieving a polished look.
Piping Buttercream Frosting
Piping frosting is where creativity truly shines! To begin, start by applying a crumb coat, which is a thin layer of frosting that traps crumbs and creates a smooth base. In addition, place the cake on a turntable for easy handling as you work around it.
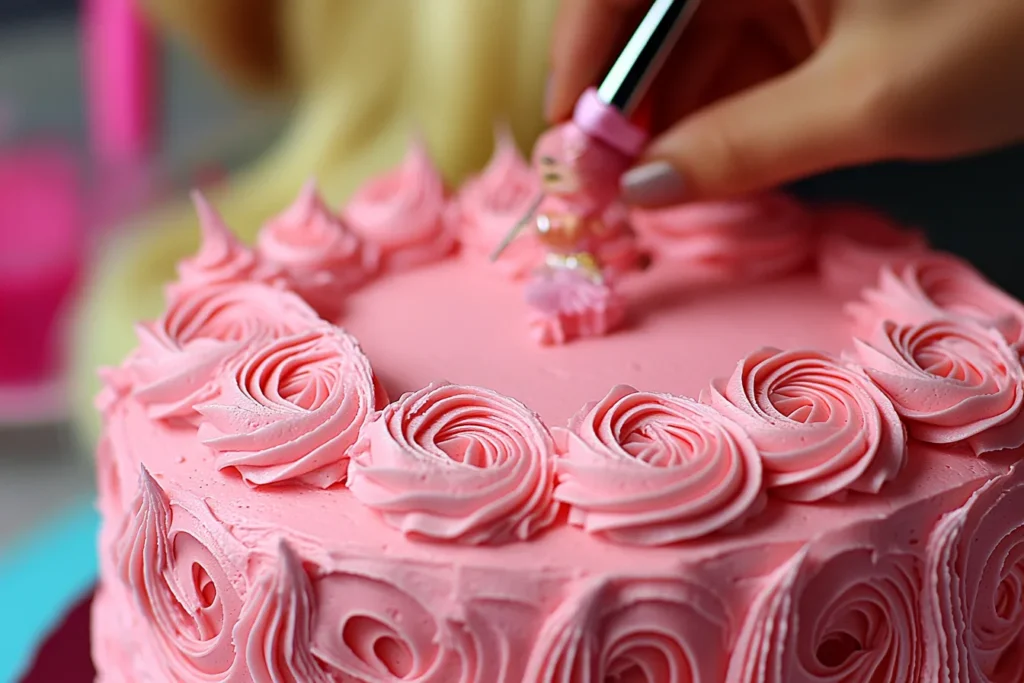
Using a piping bag with a star tip, pipe ruffles along the skirt’s edges to mimic fabric folds. Meanwhile, for rosettes, use a swirl motion starting from the center outward. To add even more variety, switch between round and petal tips, creating intricate patterns that look like embroidery or lace on the gown.
Furthermore, consider mixing colors by using a two-tone frosting effect. For instance, load one side of the piping bag with pink and the other with white buttercream. As a result, this creates a gradient look, adding depth and sophistication.
Adding Fondant and Edible Decorations
While buttercream provides texture, fondant takes your cake’s elegance to the next level. Roll out fondant into thin sheets, then cut it into decorative shapes like bows, sashes, or even cascading ribbons.
Fondant can also be molded into 3D embellishments, such as flowers or tiaras, which can be placed around the doll’s waist or at the hem of the cake’s skirt. Highlight these details with edible glitter or metallic spray for a magical touch.
To keep the design cohesive, choose a single theme—like a fairy princess or ballerina—and match the colors and decorations accordingly.

Creative Design Ideas for Barbie Cakes
Popular Themes and Styles
Your Barbie cake can reflect virtually any theme, making it an adaptable choice for various celebrations. Here are a few standout ideas to inspire you:
- Princess Barbie:
- Think tiaras, scepters, and royal colors like lavender, gold, and deep pink. Use fondant accents to craft intricate lace designs for the gown.
- For the final touch, add edible jewels along the bodice to enhance the regal appearance.
- Mermaid Barbie:
- Use aqua, coral, and silver hues to mimic the ocean. Frosting can be piped in wave patterns, while edible seashells and starfish complete the aquatic theme.
- Incorporate shimmering edible glitter for an “underwater sparkle” effect.
- Winter Wonderland Barbie:
- Perfect for a Frozen-inspired party, this theme involves icy blue and white tones. Use snowflake-shaped fondant cutouts and edible pearls to simulate frost.
- Sprinkle powdered sugar around the base to mimic freshly fallen snow.
- Rainbow Barbie:
- Use bold or pastel layers of frosting to represent the rainbow. You can even bake the cake in rainbow-colored layers for a fun surprise inside.
Color Schemes and Decorations
Selecting the right color palette is essential for creating a cohesive and eye-catching design. Some winning combinations include:
- Blush Pink and Gold: A timeless choice for traditional Barbie cakes.
- Silver and White: Creates a chic and contemporary look.
- Pastel Rainbow: Adds a whimsical and dreamy vibe.
Use contrasting edible elements, such as silver pearls on dark frosting or pastel fondant flowers on vibrant layers, to elevate the visual appeal. For intricate detailing, refer to this guide: Barbie Doll Cake Recipe.
Tips and Tricks for a Perfect Barbie Cake
Common Mistakes to Avoid
It’s easy to make errors while creating something as elaborate as a Barbie cake. Avoid these common pitfalls:
- Skipping the Crumb Coat: This can result in uneven frosting. Always apply a thin base coat first and chill the cake before proceeding with the final layer.
- Overcrowding Decorations: Too many embellishments can make the design look cluttered. Stick to a theme and use only complementary elements.
- Using the Wrong Doll: Avoid dolls with fabric skirts that could absorb frosting or pose a hygiene concern. Opt for plastic dolls that are easy to clean.
- Poor Layer Alignment: Uneven stacking can make the cake unstable. Use a leveler to ensure the layers are uniform.
Enhancing Flavor and Presentation
Making your cake visually stunning is just part of the equation; flavor matters too!
- Filling Ideas: Add layers of fruit compote, chocolate ganache, or flavored cream to complement the cake’s sweetness.
- Custom Toppers: Personalize the cake with an edible topper featuring the child’s name or age. This adds a unique touch.
- Shimmer and Shine: Dust edible glitter over the gown to make it sparkle under party lights.
Additionally, arrange the cake on a decorative stand and add fresh flowers or themed props around it for a picture-perfect display.
Frequently Asked Questions (FAQs)
How long does it take to make a Barbie cake?
The time it takes to make a Barbie cake depends on how detailed the design is and how much prep is needed. For a simple design, it usually takes about 4-5 hours, including baking, cooling, putting it together, and decorating. But, for more complicated designs with fondant or detailed frosting, you might need an extra 1-2 hours. It’s always a good idea to plan ahead to avoid rushing at the last minute.
Can I use any doll for the cake?
Yes, but with a caveat. The doll must be made of non-toxic, washable plastic. Wrap the lower half in plastic wrap to ensure hygiene. Some people use Barbie dolls specifically designed for cakes, as these come with removable skirts and are easier to clean. Avoid fabric or plush dolls, as they may absorb moisture and become unsuitable for reuse.
How do I store a Barbie cake?
A Barbie cake is best stored in a cool, dry place. If it’s not served immediately, place it in an airtight cake box or cover it with plastic wrap to prevent the frosting from drying out. For longer storage, keep the cake refrigerated, but allow it to come to room temperature before serving to ensure optimal flavor and texture.
What type of frosting works best?
Buttercream frosting is the most popular choice for Barbie cakes because it’s easy to pipe and holds intricate designs well. Fondant is another excellent option for creating smooth surfaces and decorative accents. If you’re aiming for a light, whipped texture, consider using stabilized whipped cream, but be mindful of its shorter shelf life.
Can I make a Barbie cake in advance?
Absolutely! The cake layers can be baked and refrigerated up to two days in advance. Assemble and decorate the cake the night before the event to ensure freshness while reducing last-minute pressure. Just remember to store it properly to maintain its structure and taste.
How do I transport a Barbie cake safely?
Transporting a Barbie cake requires extra care. Use a sturdy cake board and box to keep it stable. Place non-slip mats under the box in your vehicle to prevent sliding. If possible, refrigerate the cake beforehand to ensure the frosting is firm and less likely to shift during transport.
Conclusion
A Barbie cake isn’t just a dessert; it’s a stunning centerpiece that brings happiness to any celebration. Whether it’s a birthday, themed party, or other special event, this cake combines fun and sweetness in the most enjoyable way. From choosing themes and colors to improving your decorating skills, making a Barbie cake lets you create memories as special as the cake itself.
With the right tools, ingredients, and a little imagination, you can create a cake that amazes both kids and adults. So, roll up your sleeves, grab that frosting bag, and let your ideas flow. After all, there’s nothing better than the smile on someone’s face when they see a beautifully decorated Barbie cake made just for them!

