Gluten free sourdough bread is a delicious and healthy alternative for those avoiding gluten, but making it at home can feel both exciting and challenging. The process requires patience and the right techniques, but the results are well worth it. This guide breaks down everything you need to know—from understanding the essentials to troubleshooting common pitfalls. Whether you’re new to gluten-free baking or looking to refine your skills, you’ll find actionable tips, detailed steps, and expert advice to make the perfect loaf.
Understanding Gluten Free Sourdough Bread
What is Gluten Free Sourdough Bread?
It is a type of bread that rises without using gluten, a protein found in wheat, barley, and rye. Instead, regular sourdough uses natural fermentation to rise, and in the same way, gluten-free versions use special methods and ingredients to get the same result. As a result, this bread is great for people with celiac disease, gluten intolerance, or those who want to avoid gluten for health reasons.
How It Differs from Traditional Sourdough
The biggest difference is in the flour and how it ferments. Wheat-based sourdough uses gluten to give the bread its shape and stretchiness. Gluten-free bread, on the other hand, uses substitutes like psyllium husk or xanthan gum. The way it ferments is also slightly different because gluten-free ingredients absorb water and react differently during fermentation.
Health Benefits of Gluten Free Sourdough
This bread has many benefits besides being gluten-free. For instance, fermentation breaks down starches and sugars, making it easier to digest and helping to manage blood sugar levels. In addition, it often has more vitamins and good bacteria that support digestion. Lastly, making gluten-free sourdough at home lets you choose fresh ingredients and avoid preservatives and other unnecessary additives.
Ingredients for Gluten Free Sourdough Bread
Key Ingredients for Success
To make the best gluten-free sourdough bread, you’ll need the right mix of ingredients. First, the basics include a gluten-free sourdough starter, which helps the bread rise. Additionally, gluten-free flours, like rice flour or sorghum flour, give the bread its shape. Moreover, additives like psyllium husk or xanthan gum are important to copy the stretchiness of gluten, while sea salt adds flavor. Finally, don’t forget water, which helps blend everything and supports fermentation.
Below is a list of ingredients with their respective quantities:
| Ingredient | Quantity |
|---|---|
| Gluten-free sourdough starter | 1/2 cup (120g) |
| Brown rice flour | 2 cups (240g) |
| Potato starch | 1/2 cup (70g) |
| Tapioca starch | 1/4 cup (40g) |
| Psyllium husk | 2 tablespoons |
| Sea salt | 1 teaspoon |
| Warm water | 1 1/2 cups (360ml) |
| Olive oil (optional) | 1 tablespoon |
Alternative Flours to Try
Using different flours can improve your bread’s taste and texture. Brown rice flour gives a mild, nutty taste, while buckwheat flour offers a hearty and bold flavor. Tapioca and potato starches add softness and keep the loaf from being too heavy. You can also try millet or teff flour for a unique taste. Mixing these flours in the right amounts makes your gluten-free sourdough bread light and balanced.
Why a Good Gluten-Free Starter Matters
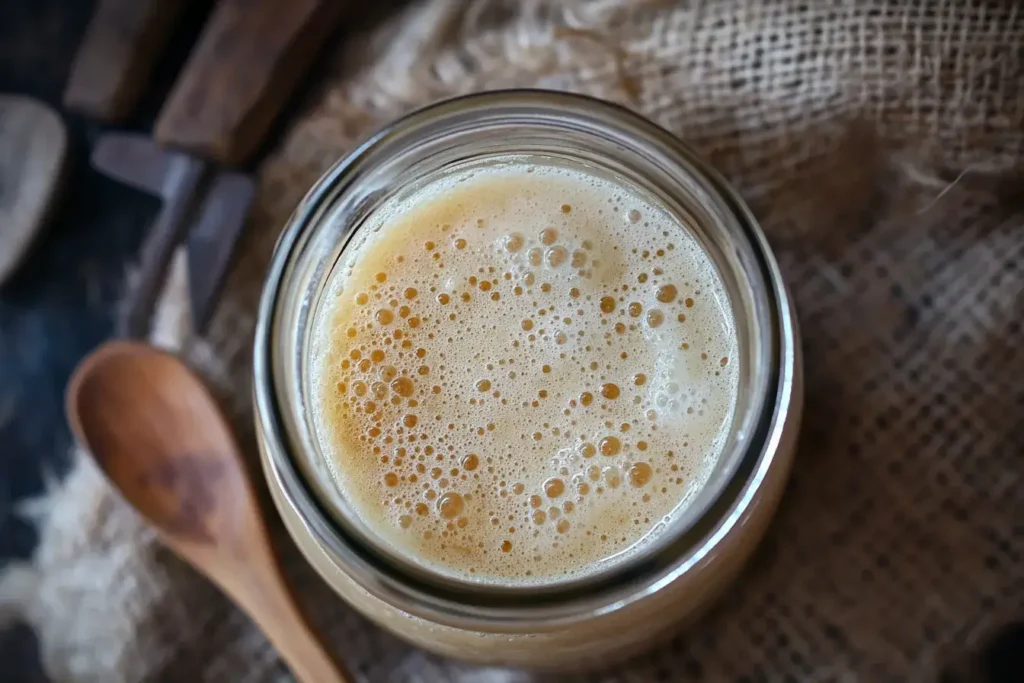
A healthy and active starter is the base of good sourdough bread. Unlike breads made with store-bought yeast, gluten-free sourdough bread uses natural yeast from the air. Feed your starter with equal parts gluten-free flour and water often. This keeps it bubbly and strong, helping your bread rise well and taste great.
For more gluten-free baking ideas, check out this gluten-free biscuit recipe guide for easy and delicious options.
Step-by-Step Recipe for Gluten-Free Sourdough Bread
Preparing Your Gluten-Free Starter
Begin by combining equal parts of gluten-free flour and water in a jar. Then, stir thoroughly, cover loosely, and let it sit at room temperature. Next, feed the starter daily by discarding half and adding fresh flour and water. After about a week, your starter should be active, bubbly, and ready to use.

Mixing the Dough: Techniques and Tips
In a mixing bowl, combine your gluten-free flour blend, psyllium husk, salt, and water. Add a portion of your active starter and mix until fully incorporated. The dough will be sticky, so use a spatula or wet hands to handle it. Avoid over-mixing, as gluten-free doughs require a delicate touch.
Fermentation Process Explained
Transfer the dough to a greased bowl, cover it with a damp cloth, and let it rise at room temperature for 4-6 hours. During this time, this fermentation stage develops flavor and allows the dough to rise slightly. For even better results, refrigerate the dough overnight for an enhanced sourdough tang.
Baking: Achieving the Perfect Crust and Texture
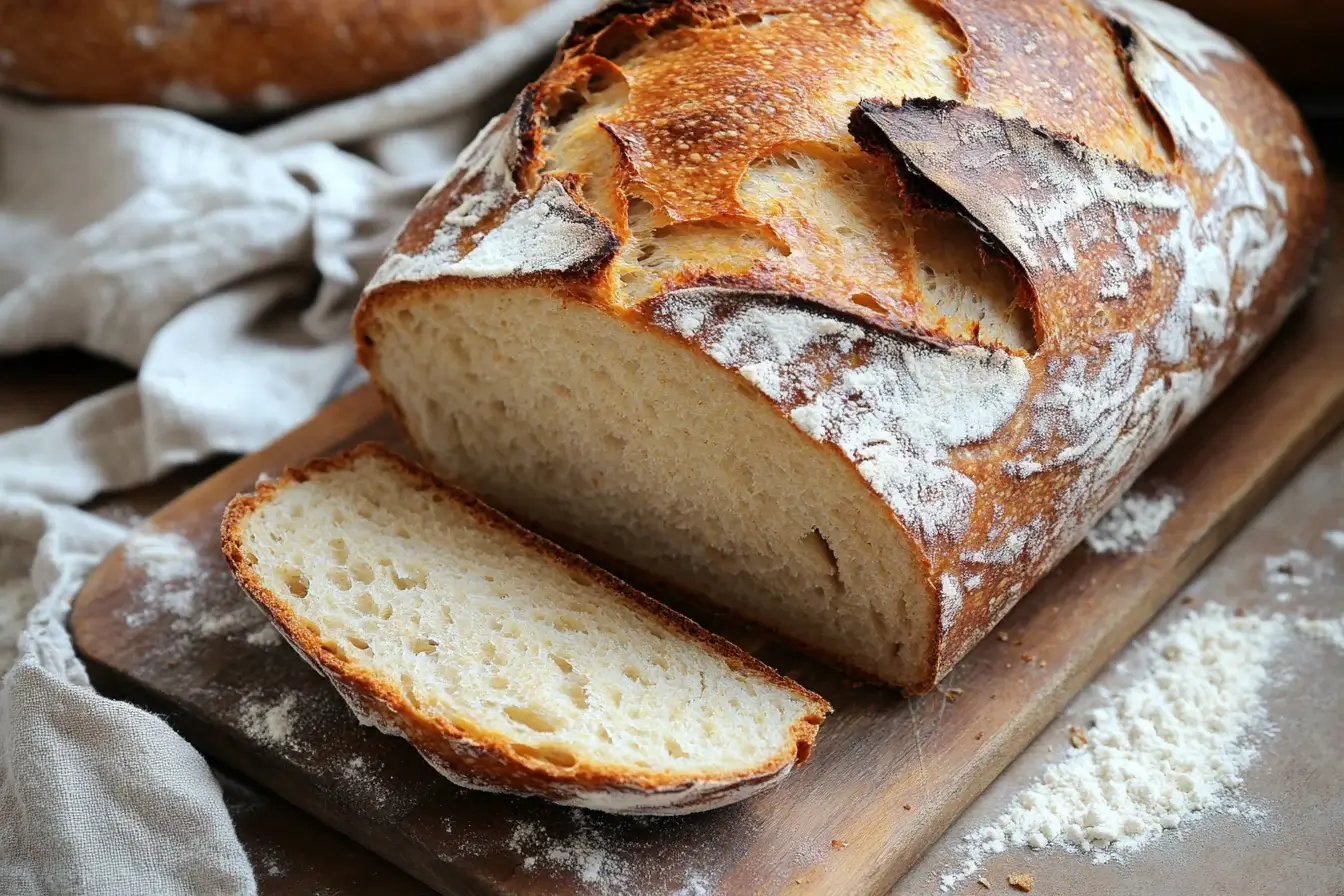
Preheat your oven to 450°F (230°C) with a Dutch oven inside. Once hot, transfer your dough to parchment paper and score the top with a sharp knife. Carefully place it into the Dutch oven, cover, and bake for 30 minutes. Remove the lid and bake for an additional 15-20 minutes until golden brown. Allow the bread to cool completely before slicing for the best texture and flavor.
Common Challenges and How to Solve Them
Avoiding Dense or Gummy Bread
A common problem with gluten-free sourdough bread is getting a heavy or sticky texture. This often happens when the dough doesn’t have enough water or binding ingredients like psyllium husk. To solve this, make sure you measure ingredients correctly and use the right amount of water. Also, let the dough ferment fully so it can rise well and develop better flavor.
Fixing Starter Problems
A weak starter can ruin your bread. However, if your gluten-free starter isn’t bubbly or growing after feeding, adjust how often you feed it. In addition, use warm water and keep the jar in a warmer place. Furthermore, avoid using bleached flour, which doesn’t have the nutrients the starter needs. With consistent attention, your starter should become active again.
Tips for Storing and Keeping It Fresh
To keep your sourdough bread fresh, let it cool all the way before putting it in a sealed container or bread bag. For the first two days, keep it at room temperature. After that, freeze slices separately to keep them fresh. When you’re ready to eat, let slices thaw at room temperature or toast them for a crispy crust.
Popular Variations of Gluten-Free Sourdough Bread
Seeded and Multigrain Versions
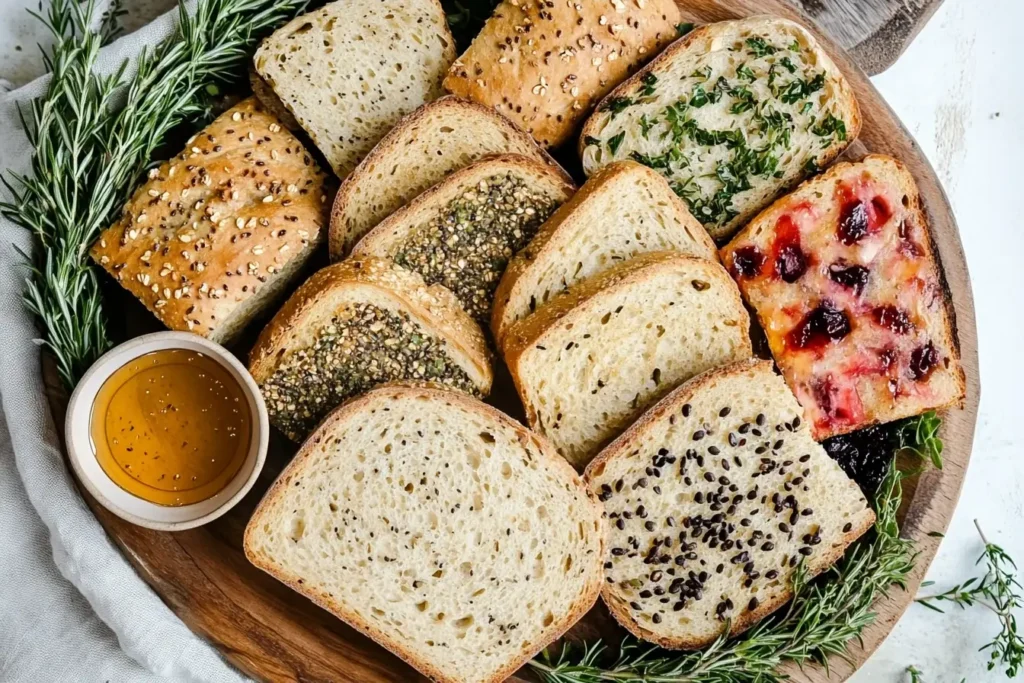
For added nutrition and crunch, try a seeded version of gluten-free sourdough bread. For example, add chia seeds, sunflower seeds, or flaxseeds directly into the dough. In addition, multigrain blends incorporating teff, millet, and quinoa flours provide a hearty, rustic flavor.
Herb-Infused Gluten-Free Sourdough
Experimenting with fresh or dried herbs like rosemary, thyme, or oregano can elevate the flavor of your bread. Simply fold herbs into the dough before fermentation for a savory twist that’s perfect for sandwiches or soups.
Sweet Versions: Adding Fruits and Nuts
For a sweeter take, add dried fruits like raisins or cranberries and chopped nuts such as walnuts or pecans. These variations pair beautifully with breakfast spreads or as a snack on their own.

For more unique baking ideas, you can explore additional recipes on the FlavorMenus recipe page. Their guides feature creative ways to enjoy breads, pastries, and beyond!
Expert Tips and Tricks for Perfect Results
Adjusting Hydration Levels
Getting the right hydration is crucial for gluten-free dough. Because gluten-free flours absorb water differently, start with the recipe’s suggested amount, but adjust if needed. A slightly sticky dough is normal, as it helps with fermentation and prevents dryness during baking.
Using a Dutch Oven for Even Baking
A Dutch oven creates the perfect environment for baking gluten-free sourdough bread. The steam trapped inside ensures a crispy crust while keeping the interior soft and tender. Preheating the Dutch oven before placing the dough inside makes a noticeable difference in the loaf’s rise and texture.
Testing Doneness Accurately
To avoid underbaking, use a thermometer to check the internal temperature of your loaf. Gluten-free sourdough is fully baked when it reaches 205°F to 210°F (96°C to 99°C). Letting the bread cool completely after baking prevents gumminess and enhances flavor.
Serving and Pairing Ideas for Gluten-Free Sourdough Bread
Delicious Ways to Serve Gluten-Free Sourdough
There are countless ways to enjoy gluten-free sourdough bread. For instance, for a classic breakfast, toast slices and top them with smashed avocado, poached eggs, or a drizzle of honey. Meanwhile, at lunch, use it to create gourmet sandwiches with fresh vegetables, spreads, and proteins. Furthermore, for dinner, serve it alongside soups, stews, or salads for a hearty and satisfying addition to your meal.
Perfect Pairings for Every Occasion
Pairing this bread with the right sides can make it taste even better. For example, for a sweet option, spread almond butter and sprinkle some cinnamon. On the other hand, for savory dishes, serve it with smooth hummus or an olive oil dip with herbs. Moreover, if you’re having guests, include a mix of cheeses and dried meats for a fancy snack tray with your homemade gluten-free sourdough bread.
Health Benefits of Gluten-Free Sourdough Bread
Digestive Benefits of Fermented Bread
One of the key benefits of gluten-free sourdough bread comes from its fermentation process. The natural probiotics and good bacteria created during fermentation can help improve digestion. Unlike store-bought gluten-free bread, sourdough has fewer additives, making it a better choice for gut health.
Lower Impact on Blood Sugar
The slow fermentation process breaks down starches, which can lead to a lower effect on blood sugar compared to other gluten-free bread. This makes it a great choice for people managing blood sugar or those wanting steady energy throughout the day.
Packed with Nutrients
Because it uses a mix of special flours, gluten-free sourdough bread often has more nutrients than regular bread. Flours like millet, sorghum, and teff are rich in iron, magnesium, and B vitamins, making it a healthier option for bread lovers.
Good for Sensitive Diets
For people with celiac disease or gluten intolerance, this bread is a safe and tasty way to enjoy bread without any discomfort. In addition, its natural and simple ingredients lower the chance of reactions often linked to processed gluten-free products.
FAQs About Gluten-Free Sourdough Bread
How Long Does It Take to Make Gluten-Free Sourdough Bread?
The time needed to make gluten-free sourdough bread depends on how active the starter is and how long the dough ferments. Usually, making a gluten-free starter takes about 7-10 days. Once it is ready, mixing and letting the dough rise can take anywhere from 6-12 hours, based on the temperature and how tangy you want it. Baking takes about 45 minutes. While it takes time, the result is a tasty and satisfying loaf.
Can You Freeze Gluten-Free Sourdough Bread?
Yes, you can freeze gluten-free sourdough to extend its shelf life. For best results, slice the bread and place parchment paper between each slice before freezing. This allows you to take out individual portions without thawing the entire loaf. When ready to eat, reheat slices in a toaster or oven for a fresh-from-the-bakery experience.
What Are the Best Flour Blends for Gluten-Free Sourdough?
A combination of flours often works best for gluten-free sourdough bread. Mixing rice flour with tapioca starch and millet or sorghum flour creates a balance of softness and structure. You can also add potato starch for lightness. Experimenting with these blends ensures the right texture for your loaf.
Conclusion and Final Thoughts
Bringing It All Together
Mastering the art of gluten-free sourdough bread is an achievable goal with the right tools, techniques, and patience. For instance, from preparing an active starter to troubleshooting common challenges, every step contributes to a delicious and healthy loaf. Whether you prefer classic recipes or creative variations, the journey therefore offers both satisfaction and tasty rewards.
Encouragement for Beginners
For first-timers, remember that practice makes perfect. The process might seem overwhelming initially, but each attempt improves your skills and builds confidence. Stick to the guidelines, experiment with ingredients, and embrace the learning curve. Soon, baking gluten free sourdough bread will feel second nature.

